Concrete Coating Installation Process
Understand how Boise Epoxy evaluates, prepares, repairs, coats, and returns a concrete floor to service.
Step One: Site Evaluation and Project Goals
A dependable coating project starts before equipment reaches the property. Boise Epoxy asks how the room is used, what loads and spills are expected, whether sunlight reaches the floor, how the space is cleaned, and what appearance the owner wants. The slab is reviewed for existing coatings, contamination, cracks, pitting, moisture indicators, joints, slopes, and access limitations. Measurements and photographs help define the scope.
This evaluation is also the time to discuss logistics. Garages and commercial rooms must be cleared, and some fixed cabinets or equipment may affect edge access. The route from the work area to the exterior should be protected and kept available. Power, weather, noise, dust control, neighboring occupants, pets, and business hours may all matter. A thorough plan turns these details into scheduled tasks instead of last-minute surprises.
Step Two: Mechanical Surface Preparation
Surface preparation creates the foundation for every layer that follows. Mechanical grinding removes weak surface paste, opens the concrete profile, and helps eliminate compatible residues or existing coatings. Dust collection reduces airborne material, but owners should still expect an active construction process. Edges and confined areas require smaller equipment and deliberate attention so the coating can bond consistently across the floor.
Preparation is not simply cleaning. Acid etching and household degreasers cannot reliably replace mechanical profiling for many professional systems. Likewise, coating over glossy paint or an unknown sealer transfers the risk of that old layer into the new floor. Boise Epoxy selects a preparation approach based on the slab, the material being installed, and site restrictions.
Step Three: Repairs and Detail Work
Once the slab is open, cracks, spalls, divots, and previous patches can be examined clearly. Repair materials are selected for the type of defect and installation schedule. Loose concrete is removed, repair areas are shaped and cleaned, and transitions are feathered where appropriate. Control and expansion joints require special consideration because they are designed or expected to accommodate movement.
No cosmetic coating can correct an underlying structural problem. Active movement, major settlement, hydrostatic pressure, and severe deterioration may need evaluation outside a standard coating scope. Boise Epoxy explains visible limitations and avoids presenting surface repair as structural engineering. That clarity protects the owner and supports a better long-term decision.
Step Four: Coating, Broadcast, and Topcoat
The prepared floor receives the specified bonding or base layer at the coverage rate required by the system. Decorative flake or quartz is broadcast while that layer is receptive. Depending on the design, media may be applied lightly for accent or to full rejection for dense coverage. After cure, loose material is recovered and the surface is scraped or refined before the protective coat is installed.
Topcoat selection influences UV stability, abrasion resistance, cleanability, chemical response, texture, and sheen. More is not automatically better; compatible chemistry and correct film build matter. Edges, vertical surfaces, door transitions, drains, and adjoining flooring are detailed according to the agreed scope. The installer monitors temperature and working time throughout the application.
Step Five: Cure and Return to Service
A coating can feel dry before it has developed the properties needed for vehicles, equipment, or cleaning. Boise Epoxy provides project-specific cure instructions based on the installed materials and current conditions. Foot traffic, light storage, heavy objects, and vehicle traffic may each have different return times. Rushing this stage can mark or stress a new finish.
After completion, the owner should understand basic care, approved cleaning practices, spill response, and ways to protect concentrated load points. Project records and photographs are useful for future maintenance. A professional installation closes with a clear handoff rather than leaving the owner to guess when the room can be used.
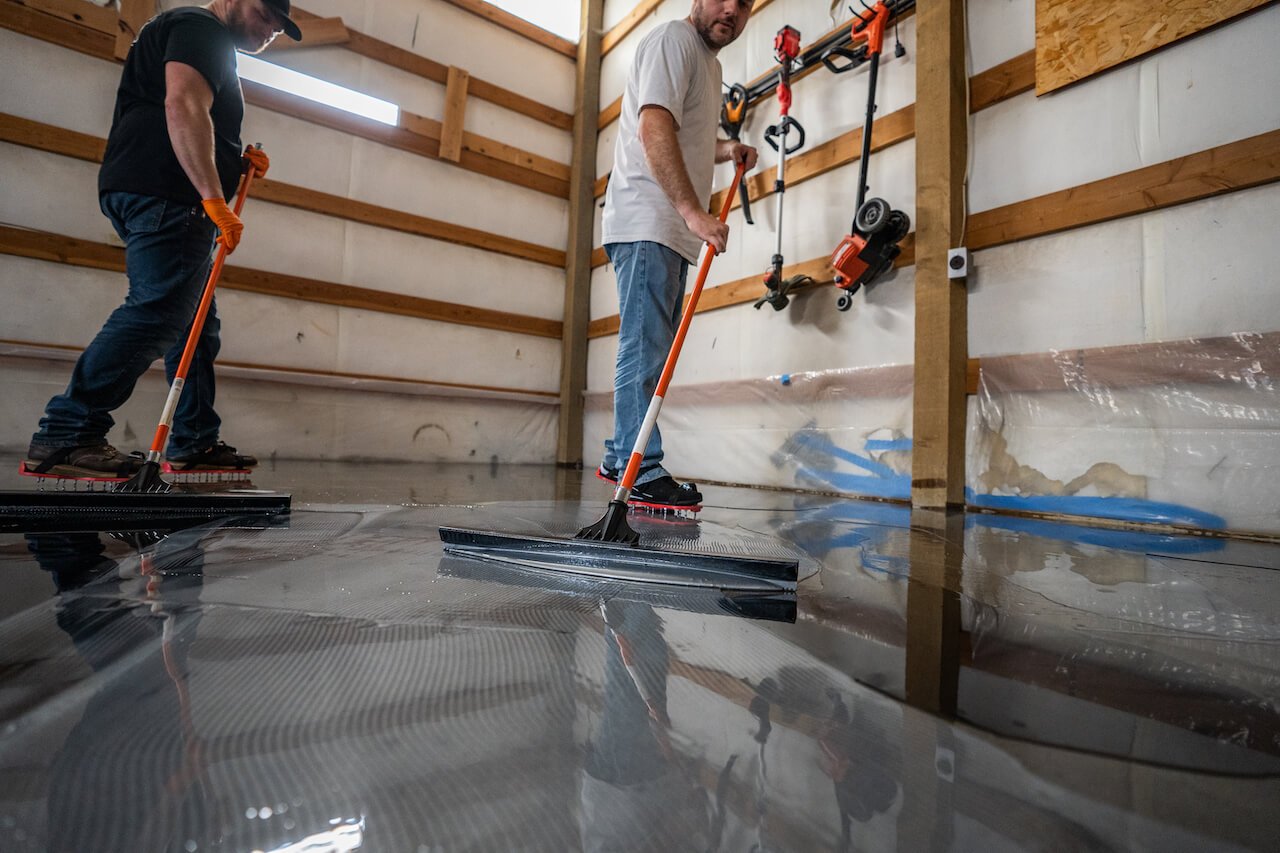
Diamond Grinding Concrete Prep and System Installation
Professional installation begins with evaluation and mechanical diamond grinding concrete prep. Grinding removes weak surface paste, opens the concrete profile, and helps identify cracks, pitting, contamination, or previous coatings that need attention. Repairs and edge work are completed before applying a 100% solids epoxy, polyurea, decorative flake, or other specified base system.
The final layer may use polyaspartic topcoats selected for hot tire pickup resistance, UV-stable non-yellowing performance, and chemical and oil stain resistance. Slip-resistant anti-skid textures are added where the environment requires more traction. Boise Epoxy plans installations throughout Boise, Meridian, Eagle, Garden City, Kuna, Star, Nampa, Caldwell, Ada County, and the Treasure Valley.
Plan a Better Concrete Surface
Tell Boise Epoxy how the space is used, what condition the slab is in, and the look you want. A project-specific recommendation starts with the concrete—not a one-size-fits-all coating package.
Frequently Asked Questions
Is grinding always required?
The preparation method depends on the system and slab, but mechanical profiling is commonly used because reliable adhesion requires more than surface washing.
Will repairs make cracks disappear forever?
Repairs improve the surface, but concrete movement can cause cracks to reflect through. The condition and limitations should be discussed before installation.
Do I need to empty the room?
Usually yes. Clear access is essential for preparation, edging, coating, and cure. Fixed objects should be discussed during estimating.
Why do cure times vary?
Chemistry, temperature, humidity, film thickness, ventilation, and intended traffic all affect return-to-service guidance.
Preparing Your Property for Installation
Good preparation by the property owner keeps the installation crew focused on the concrete. Remove movable objects well before the scheduled start and create a safe route for equipment between the work area and exterior. Identify irrigation schedules, security access, alarm requirements, loading restrictions, and any shared driveways. In an attached Boise garage, plan an alternate household entrance so no one needs to cross the floor during cure.
Temperature and ventilation can affect the work even when the coating is installed indoors. Keep doors and climate-control decisions coordinated with the installer rather than changing conditions unexpectedly. Protect children and pets from the work zone, and alert the team to sensitive occupants or neighboring businesses. Commercial clients should designate one contact who can answer scope questions quickly.
Before the final walkthrough, review transitions, vertical surfaces, joints, drains, texture, and color against the proposal. Ask for return-to-service timing in writing and share it with everyone who uses the property. Moving a car, freezer, pallet, or rolling cabinet too early can leave marks even when the surface feels dry. The last stage of installation is patient cure, and respecting it protects all of the preparation and application work that came before.